Top 10 Low Light Photography Tips - Master Night Shots
Mastering the Art of Low Light Photography: Expert Tips and Tricks
Introduction
Low light photography is a challenging yet rewarding aspect of the craft. Capturing stunning images in conditions with limited natural light requires skill, patience, and practice. In this comprehensive guide, we will delve into the world of low light photography, sharing expert tips and techniques to help you master this complex topic.
Understanding Low Light Photography
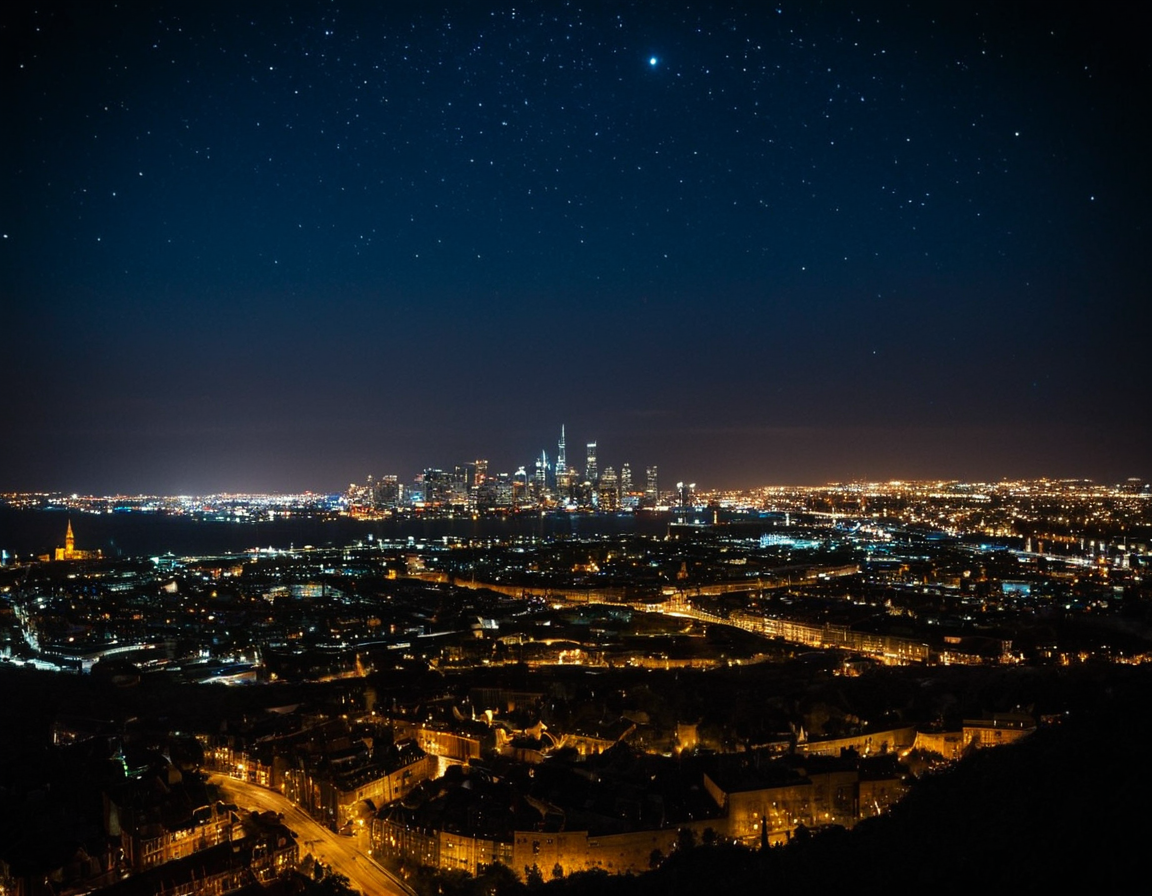
Low light photography involves capturing images in conditions where there is insufficient natural light. This can include indoor shoots, nighttime photography, or any situation where the ambient light is not sufficient for optimal image quality.
The Challenges of Low Light Photography
Low light photography presents several challenges that can be daunting even to experienced photographers. These challenges include:
- Camera shake and blur
- Insufficient depth of field
- Inadequate exposure
- Noise and grain
- Difficulty in composition
Tip #1: Use the Right Equipment
Investing in the right equipment is crucial when it comes to low light photography. This includes using a camera with good low-light performance, lenses that are designed for low-light conditions, and tripods or other stabilization devices.
Recommended Camera Settings
When shooting in low light, it’s essential to adjust your camera settings accordingly. This includes:
- Using the lowest ISO possible
- Setting the correct exposure compensation
- Avoiding over-shooting the image
- Using a wide aperture (small f-stop number)
Tip #2: Understand Your Camera
Familiarizing yourself with your camera’s capabilities and limitations is vital in low light photography. This includes understanding how to use the camera’s built-in features, such as noise reduction and anti-shake modes.
Understanding ISO and White Balance
ISO and white balance are two critical settings that require careful consideration when shooting in low light. ISO affects the amount of digital noise in an image, while white balance ensures accurate color representation.
Tip #3: Use Reflectors and Light Modifiers
Reflectors and light modifiers can be used to supplement available light and create more flattering images. This includes using reflectors to bounce light onto subjects, or using diffusers to soften harsh light sources.
Using Reflectors Effectively
When using reflectors, it’s essential to consider the direction of the light and how it interacts with your subject. Experimenting with different angles and placements can help achieve more desirable results.
Tip #4: Shoot in RAW
Shooting in RAW format allows for greater flexibility during post-processing. This includes adjusting exposure, contrast, and color balance without sacrificing image quality.
The Benefits of Shooting in RAW
Shooting in RAW provides several benefits, including:
- Greater flexibility during post-processing
- Improved noise reduction
- Increased detail capture
Tip #5: Pay Attention to Composition
Composition is critical when shooting in low light. This includes considering the rule of thirds, leading lines, and framing elements that create depth and interest.
Creating Depth and Interest
When composing an image in low light, it’s essential to focus on creating depth and interest. This can be achieved through:
- Using leading lines
- Incorporating negative space
- Experimenting with angles and perspectives
Tip #6: Use the Right Lens
Using a lens that is designed for low-light conditions can make a significant difference in image quality. This includes using wide-aperture lenses or those with image stabilization.
The Importance of Lens Selection
Lens selection plays a critical role in low light photography. Choosing a lens that is suitable for your subject and environment can help achieve more desirable results.
Tip #7: Shoot During the Golden Hour
The golden hour, just before sunset or after sunrise, offers soft, warm light that can add depth and atmosphere to images.
Capturing the Golden Hour
When shooting during the golden hour, it’s essential to consider the following:
- Positioning yourself to avoid harsh shadows
- Using a wide-aperture lens to create a shallow depth of field
- Adjusting exposure settings to capture the full dynamic range
Tip #8: Experiment with Different Angles
Experimenting with different angles and perspectives can help add interest and depth to images. This includes using low or high angles, or experimenting with unusual vantage points.
The Benefits of Experimentation
Experimentation is a crucial aspect of low light photography. By trying new approaches and techniques, you can:
- Develop your unique style
- Improve your skills
- Push the boundaries of what’s possible
Tip #9: Use Post-Processing Techniques
Post-processing techniques can be used to enhance images taken in low light conditions. This includes adjusting exposure, contrast, and color balance.
The Importance of Post-Processing
Post-processing is a critical aspect of image editing. By using techniques such as:
- Noise reduction
- Sharpening
- Color grading
Tip #10: Practice and Patience
Low light photography requires practice and patience. This includes experimenting with different techniques, practicing your skills, and learning from mistakes.
The Value of Practice
Practice is essential when it comes to mastering low light photography. By:
- Experimenting with different techniques
- Practicing your skills
- Learning from mistakes
You can develop the skills and knowledge necessary to produce high-quality images even in challenging conditions.
Conclusion
Low light photography is a complex and nuanced topic that requires skill, patience, and practice. By following these expert tips and tricks, you can improve your skills and take your photography to the next level.
Key Takeaways
- Invest in the right equipment
- Understand your camera’s capabilities and limitations
- Use reflectors and light modifiers effectively
- Shoot in RAW format
- Pay attention to composition
- Use the right lens
- Shoot during the golden hour
- Experiment with different angles
- Use post-processing techniques
- Practice and be patient
Remember, mastering low light photography takes time and effort. Don’t be discouraged by setbacks or challenges – keep practicing, learning, and pushing yourself to improve.
Will you take up the challenge of mastering low light photography?
About Camila Rodriguez
Hi, I'm Camila Rodriguez, a seasoned photographer and blog editor passionate about inspiring creative minds. With a background in photography and a knack for crafting engaging tutorials, I help bring the best photography techniques and tools to life on lentecreativa.com.