Mastering Aperture Control: The Ultimate Beginner's Guide
The art of photography is a complex one, with many variables that can affect the final product. Among these variables are aperture control, shutter speed, and ISO settings. Today we’re going to focus on aperture control, specifically how to master it for optimal results.
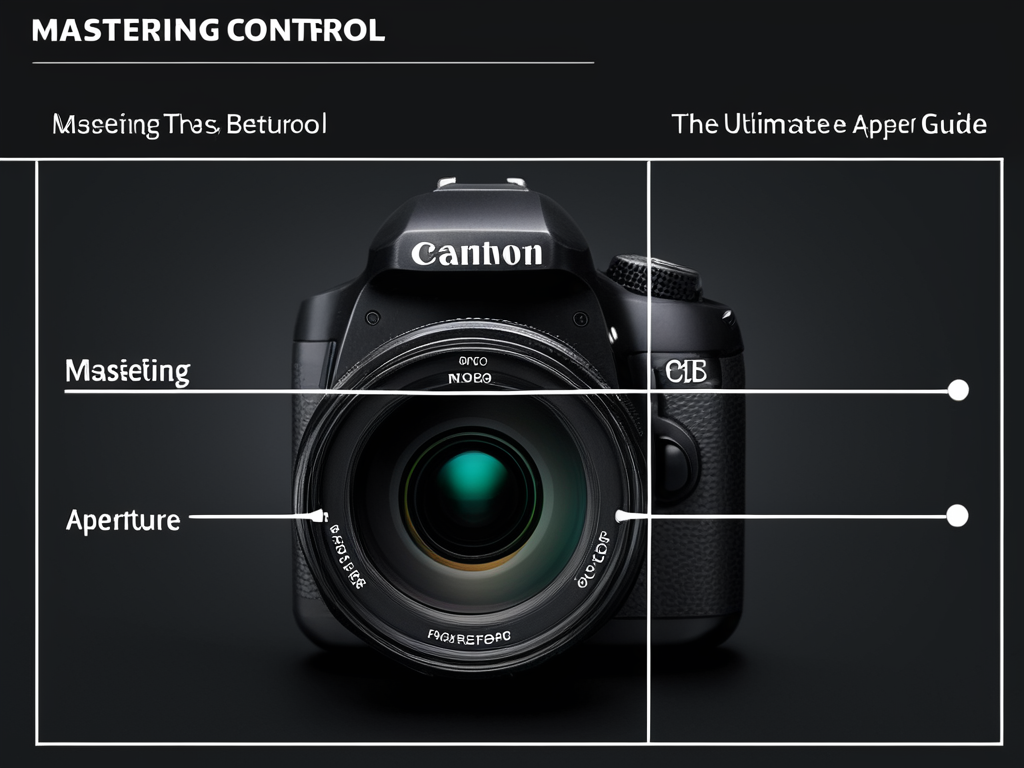
Understanding Aperture Control
Aperture control refers to the way in which light enters your camera. It’s controlled by a diaphragm inside the lens that opens or closes depending on the desired level of exposure. The aperture setting is typically represented as an f-stop value (e.g., f/2, f/4, f/8). A larger f-stop number means a smaller aperture opening, while a smaller f-stop number means a larger aperture opening.
How to Master Aperture Control
Mastering aperture control requires practice and experimentation. Here are some tips to help you get started:
Practice with Manual Mode
Manual mode allows you to adjust all three exposure settings (aperture, shutter speed, ISO) independently. This can be intimidating at first, but it’s essential for mastering aperture control.
- Set your camera to manual mode.
- Adjust the aperture setting (f-stop value) to a specific value (e.g., f/4).
- Take a photo and review it on the camera screen.
- Adjust the shutter speed as needed based on the desired effect.
- Repeat this process until you’re comfortable with the relationship between aperture, shutter speed, and ISO.
Use Aperture Priority Mode
Aperture priority mode allows you to set the aperture setting while the camera adjusts the shutter speed automatically. This can be helpful when you want to control the depth of field without worrying about the shutter speed.
- Set your camera to aperture priority mode.
- Adjust the aperture setting (f-stop value) to a specific value (e.g., f/4).
- Take a photo and review it on the camera screen.
- If necessary, adjust the shutter speed as needed based on the desired effect.
- Repeat this process until you’re comfortable with the relationship between aperture, shutter speed, and ISO.
Experiment with Different Aperture Settings
Experimenting with different aperture settings is crucial for mastering aperture control. Try out various f-stop values (e.g., f/2, f/4, f/8) to see how they affect the depth of field and overall image quality.
Common Mistakes and How to Avoid Them
Here are some common mistakes to avoid when mastering aperture control:
Over or Underexposure
Overexposure occurs when too much light enters the camera, resulting in a washed-out image. Underexposure occurs when too little light enters the camera, resulting in a dark image.
To avoid over or underexposure, adjust your ISO settings accordingly. If you’re shooting in bright sunlight, lower the ISO setting to prevent overexposure. If you’re shooting indoors, raise the ISO setting to prevent underexposure.
Incorrect Shutter Speed
Incorrect shutter speed can result in blurry images or motion blur.
To avoid incorrect shutter speed, experiment with different shutter speeds (e.g., 1/1000th of a second, 1/200th of a second) and review them on the camera screen. Adjust as needed based on the desired effect.
Incorrect ISO Settings
Incorrect ISO settings can result in grainy or noisy images.
To avoid incorrect ISO settings, experiment with different ISO settings (e.g., 100, 400, 800) and review them on the camera screen. Adjust as needed based on the desired effect.
Conclusion
Mastering aperture control requires practice and experimentation. By following these tips and avoiding common mistakes, you’ll be well on your way to unlocking the secrets of your camera. Remember to experiment with different aperture settings, use manual mode when possible, and adjust ISO settings accordingly. With time and practice, you’ll become a master of aperture control and produce stunning images that showcase your skills.
About Sebastian Taylor
I'm Sebastian Taylor, a photographer and blogger passionate about sharing inspiring stories, expert tutorials, and game-changing tools for creative photographers on lentecreativa.com. With years of experience in capturing stunning images, I help artists elevate their craft and bring their vision to life.