Low Light Photography Guide - Essential Tips
Low-Light Photography Explained: A Beginner’s Guide
Introduction
Low-light photography can be a challenging but rewarding experience for photographers of all levels. In this guide, we will explore the fundamentals of low-light photography, including the technical aspects and practical tips to help you improve your skills.
Technical Aspects of Low-Light Photography
Understanding the Basics
Light is the foundation of any photograph. However, in low-light conditions, the available light is limited, making it difficult to capture images that are well-exposed and visually appealing. The exposure triangle – aperture, shutter speed, and ISO – plays a crucial role in managing light in these situations.
- Aperture: A larger aperture (smaller f-stop number) allows more light into the camera, while a smaller aperture (larger f-stop number) reduces the amount of light. However, a larger aperture also increases the depth of field, which can be beneficial in certain scenarios.
- Shutter Speed: Faster shutter speeds (1/1000th of a second or faster) are necessary to freeze fast-moving subjects and prevent blur. Slower shutter speeds (1 second or slower) can create motion blur, adding a sense of dynamism to an image.
- ISO: Increasing the ISO setting increases the camera’s sensitivity to light, but it also introduces noise and degradation in image quality.
Mitigating the Effects of Low Light
While it is impossible to eliminate low-light conditions entirely, there are strategies you can employ to minimize their impact:
- Use a tripod or stabilizer to reduce camera shake and blur.
- Use external flash units or continuous lighting to supplement available light.
- Shoot in RAW format to capture more image data and improve post-processing options.
Practical Examples
Shooting in Indoor Environments
Indoor environments often present challenges due to limited natural light. To overcome this, consider the following:
- Use artificial lighting: Invest in a reliable external flash unit or continuous lighting system to supplement available light.
- Position yourself strategically: Move closer to your subject or use reflectors to bounce light onto their face or body.
- Experiment with different angles and compositions: Don’t be afraid to get creative and experiment with unusual perspectives and framing.
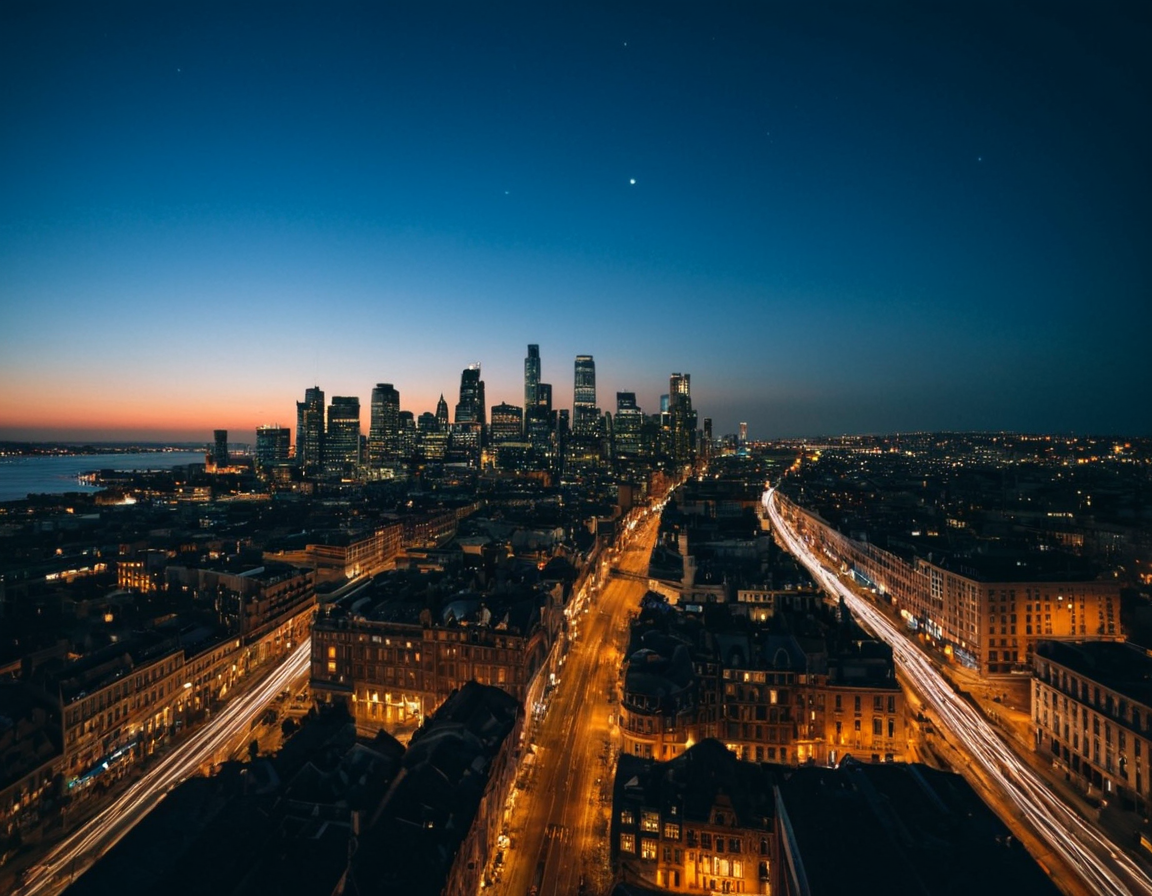
Shooting in Outdoor Environments
Outdoor environments, especially those with limited natural light, require careful planning and execution:
- Shoot during the golden hour: The hour immediately following sunrise or before sunset offers soft, warm light that can add depth and character to your images.
- Use a wide aperture: A larger aperture can help create a sense of intimacy and isolation in portraits, while also allowing more light into the camera.
- Experiment with panning and motion blur: Capturing fast-moving subjects can add a sense of energy and dynamism to an image.
Conclusion
Low-light photography is not for the faint of heart. It requires patience, practice, and a deep understanding of the technical aspects involved. By following the practical tips and strategies outlined in this guide, you can improve your skills and capture images that are visually stunning and emotionally resonant.
What are some specific low-light scenarios you’d like to tackle first? Share your experiences or ask for advice in the comments below!
About Sarah Davis
Photography enthusiast & expert Sarah Davis helps creative photographers refine their craft through inspiring tutorials, innovative tools, and actionable tips on lentecreativa.com.