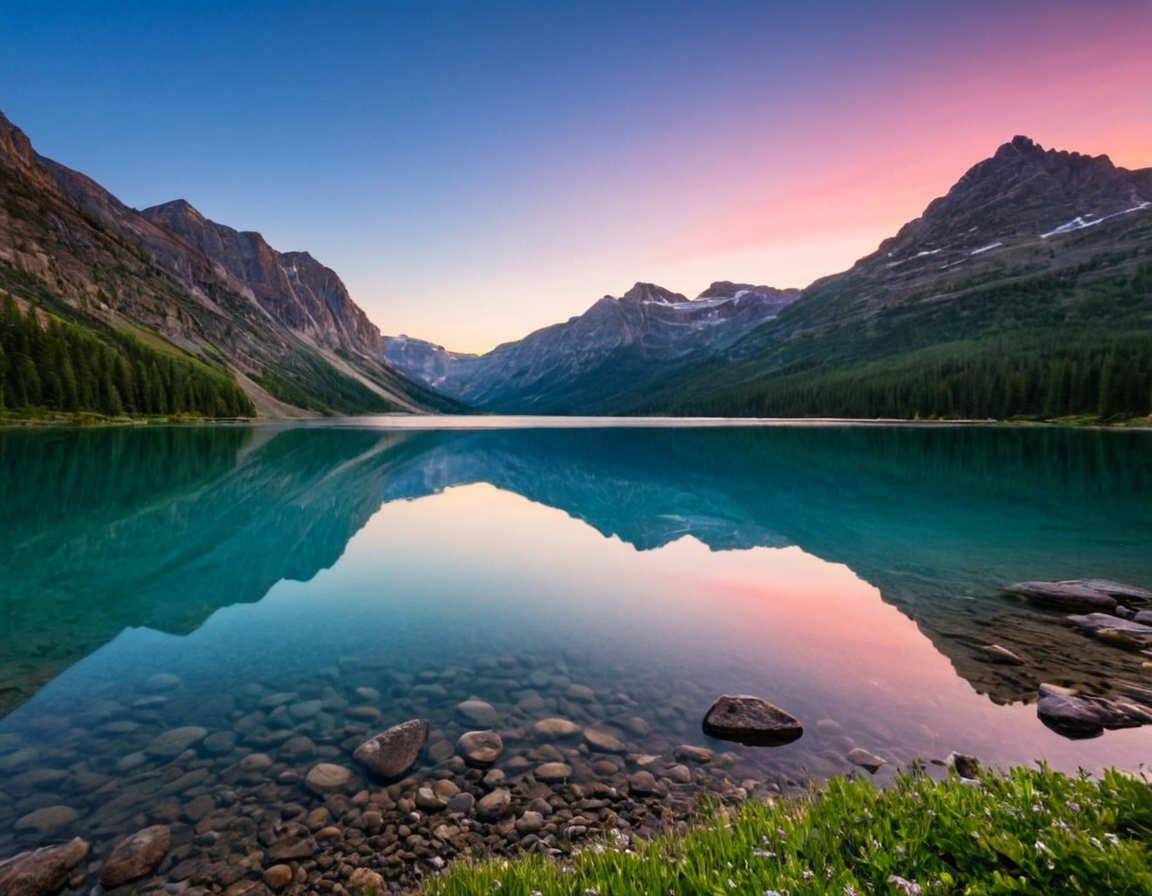
Landscape Photography Tips: Essential Camera Settings

10 Essential Camera Settings for Capturing Stunning Landscape Photos (For Beginners & Pros)
Capturing breathtaking landscape photos requires a combination of technical knowledge, creativity, and practice. As both amateur and professional photographers continue to push the boundaries of this genre, it’s essential to revisit and refine our understanding of the fundamental camera settings that contribute to stunning images.
Understanding the Fundamentals
Before we dive into specific camera settings, it’s crucial to grasp the underlying principles that govern landscape photography. This includes a deep appreciation for light, composition, and the environment itself. A solid foundation in these elements will significantly enhance your ability to produce high-quality photographs.
1. Camera Mode: Manual (M)
Manual mode gives you complete control over exposure settings, allowing for precise adjustments to capture images according to your creative vision.
- Why Use Manual Mode: Control over exposure and the ability to adjust settings based on changing light conditions.
- Practical Example: Switch to manual mode when shooting in low-light conditions or during golden hour. Adjust aperture, shutter speed, and ISO accordingly.
2. Aperture (f-stop)
Aperture controls the amount of light entering the camera, affecting depth of field.
- Why Use a Large Aperture: Create a shallow depth of field to draw attention to your subject.
- Practical Example: Set f/8 for landscapes where you want both foreground and background in focus.
3. Shutter Speed
Shutter speed determines how long the camera’s shutter is open, affecting motion blur.
- Why Use Slow Shutter Speeds: Capture movement and blur to add dynamism.
- Practical Example: Shoot waterfalls or moving water with a slow shutter speed of at least 1/30s.
4. ISO
ISO affects image noise and sensor sensitivity.
- Why Keep it Low: Minimize noise for cleaner images.
- Practical Example: Use ISO 100 in bright conditions, ISO 400 when shooting indoors, or as needed based on available light.
5. White Balance
Adjust white balance to accurately capture the color temperature of your scene.
- Why Adjust WB: Ensure accurate representation of colors and prevent unwanted hue shifts.
- Practical Example: Set Auto WB for mixed lighting conditions; adjust manually based on lighting sources present in the scene (e.g., daylight, tungsten).
6. Composition
Understand the rule of thirds, leading lines, framing, symmetry, and negative space to create visually appealing compositions.
- Why Use Composition Techniques: Engage viewers with a thoughtful composition.
- Practical Example: Place your subject off-center, using the rule of thirds for a more balanced image.
7. Focus Point
Use focus points strategically to isolate or emphasize your subject.
- Why Adjust AF Points: Enhance the sharpness and clarity of your main subject.
- Practical Example: Use the center focus point for portraits or product photography, and the surrounding points for landscapes where everything should be in focus.
8. HDR (High Dynamic Range)
Capture a wider range of tonal values to retain details in both shadows and highlights.
- Why Shoot HDR: Conserve image data without sacrificing quality.
- Practical Example: Utilize HDR capabilities on newer cameras or third-party software for enhanced dynamic range.
9. Flash
Use flash judiciously to add depth, enhance textures, or create ambient effects.
- Why Use Flash: Add a creative dimension by enhancing the mood and atmosphere of your image.
- Practical Example: Experiment with flash in conjunction with natural light to add interest to an outdoor scene.
10. Bracketing
Shoot multiple exposures at different settings to merge into a single image, expanding dynamic range.
- Why Bracket: Capture more detail than possible with a single shot.
- Practical Example: Use bracketing to merge images and capture high-quality landscape shots in challenging light conditions.
Conclusion
Mastering these fundamental camera settings is just the beginning. Landscape photography requires patience, dedication, and continuous practice. Focus on developing your skills through experimentation and exploration, always pushing yourself creatively.
Call to Action
Consider setting aside time this week to revisit and refine your understanding of these essential camera settings. Don’t be afraid to experiment with new techniques and push the boundaries of what’s possible within your creative vision.
Tags
landscape-photography beginner-tips camera-settings professional-techniques stunning-images
About David Lopez
As a seasoned photographer and blogging expert, I help creatives refine their craft on lentecreativa.com. With a focus on practical tips & techniques, I inspire photographers to push boundaries and capture stunning images.
